For best results view blog in Firefox or Safari

All pictures can be enlarged by clicking on them

Showing posts with label How-to. Show all posts

Wednesday, 11 November 2009

Hyperlink to open in a new window

I've just learned a new trick today!

Do you remember when I told you how to create a hyperlink? Well, today I learned what to do to make that hyperlink open in a new window, like this!

First you need your link as before, let's pick good ol Google and because of my location, I'm going to pick Google.co.uk.

The link is \http://www.google.co.uk right (ignore the backslash though, it's the only way to make it appear without blogger converting it LOL)? So pick your word, highlight it and create your hyperlink - Google.

Now you need to find the HTML editor, it's different for each place - for blogger it's the tab next to compose when you're writing a new post.

You'll see a load of jibberish with funny symbols and stuff, but if you look closely, you'll actually see the stuff you've been typing.

Look for google, specifically for your google address written like normal, but with some other code before it, it will start with a left pointing <, the letter a, a >, then href.

Now you want to add a space then: target="_blank" immediately before >Google.

Click on the compose tab again to finish writing your post. Publish it and have a play!

Saturday, 7 November 2009

Casting on TAAT ML Socks

I've told you how to do TAAT socks using ML from the toe up, but to work TAAT socks using ML from the cuff down is different.

The cast on itself is very tricky.

Cast on your stitches for your first sock. I use a cable cast on.


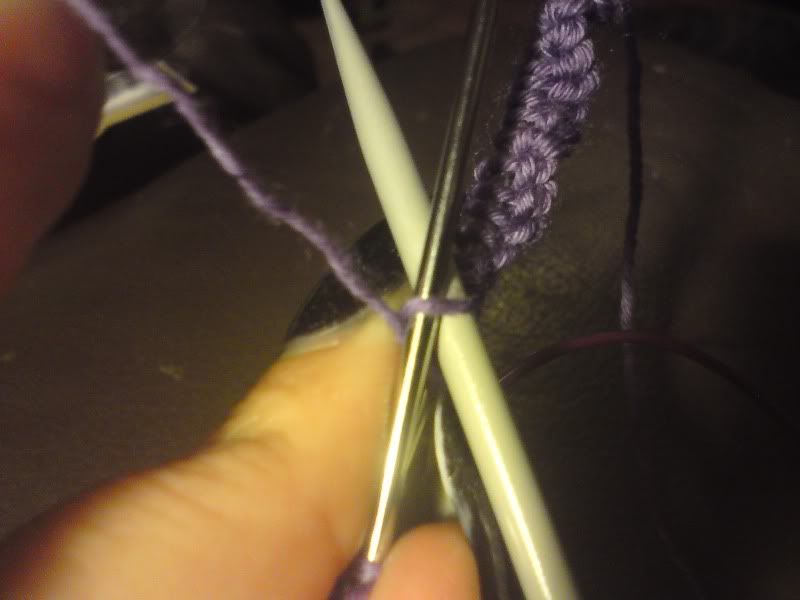
Find the halfway point and pull your cable through between the two stitches so that your needles are parallel.


Now cast on half the stitches for the second sock.


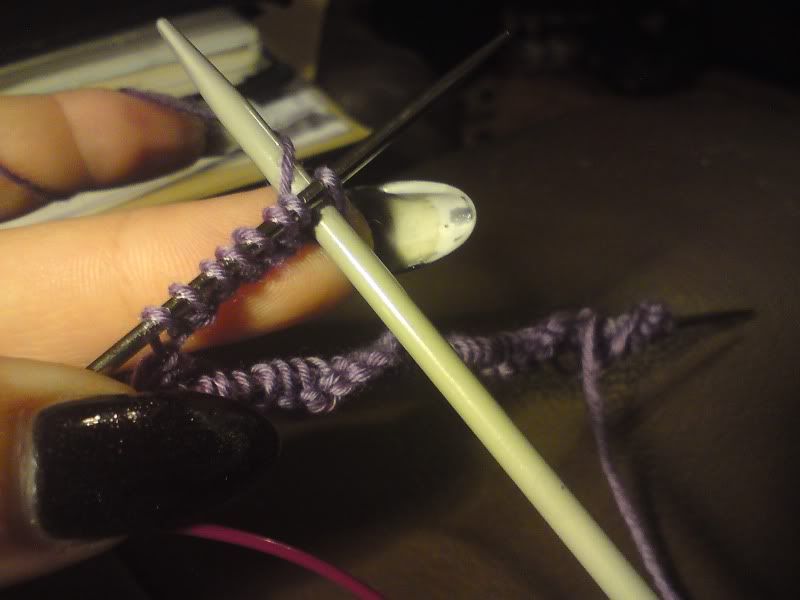
Slide your stitches purlwise from the left needle to the right needle.


Now, using the cable cast on method, pull a loop through from stitch 1 & 2 (that's the end nearest the other sock not the needle tip).


Make sure that the first half of your second sock cast on is on your right needle and the single stitch you just made is on the left needle. You may want to bring in another needle here to aid with the rest of the cast on. For this next stitch, perform a knitted cast on.


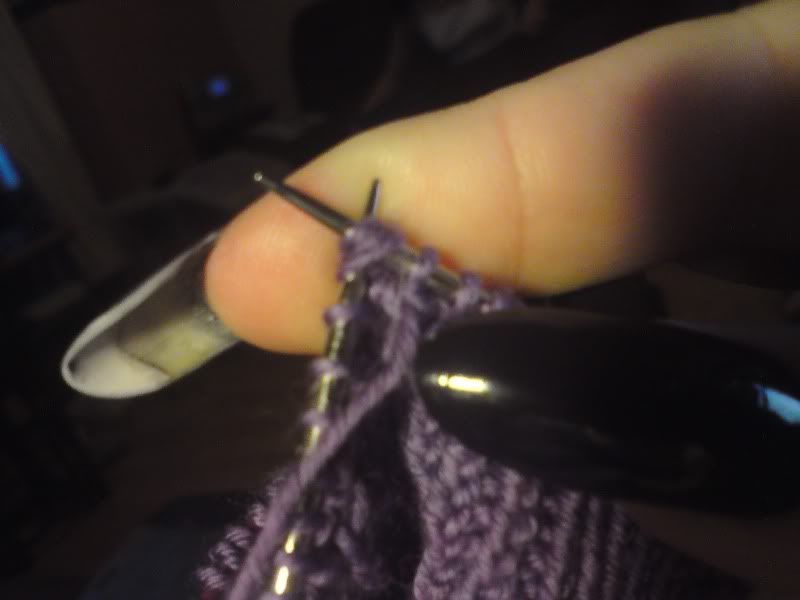
Now you can continue on with your cable cast on for the remainder of stitches needed.


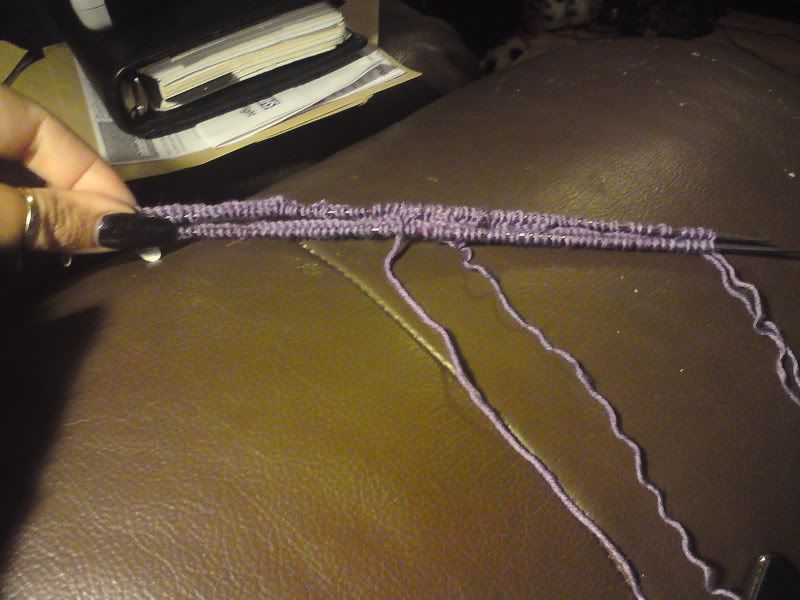
You have now cast on two sock cuffs!


Instructions for cable cast on and knitted cast on can be found here

Baroque - my version

I just started making Baroque, beautiful socks - but the instructions seem stupidly difficult (with all due respect to Janice King).

I came up with a cable-needleless way of doing the TCR and TCL stitches. I have listed my instructions in italics and put a strikethrough like this through their instructions that you don't need!

TCR
Method 2 (without cn): Sl3 onto cn tog as if to k3tog, sl sts back one by one purlwise, rotate cn counter clockwise 180 degrees so the first slipped st is leftmost on the cn, return 3 sl sts to left needle; yib sl1 as if to p tbl, insert the left needle into the front loop of the slipped st and k tbl, p1 tbl, yib, sl1 as if to p tbl, insert the left needle into the front loop of the slipped st and k tbl.

TCL
Method 2 (without cn): Sl3 onto cn tog purlwise as if to p3tog, now insert tip of left needle through front of all 3 sts like this:

rotate cn clockwise 180 degrees so the first slipped st is leftmost on the cn, remove right tip, thus returning 3 sl sts to left needle; k1, yif sl1 as if to knit, insert left needle into the back loop of the slipped st and purl it, k1.

Wednesday, 21 October 2009

Continental Knitting

Unlike everyone else at my knitting group and my mother (who taught me to knit), I knit continental!

thisgoodlife has asked how to keep tension while knitting and purling continental so I knocked up this little tutorial for her and you.

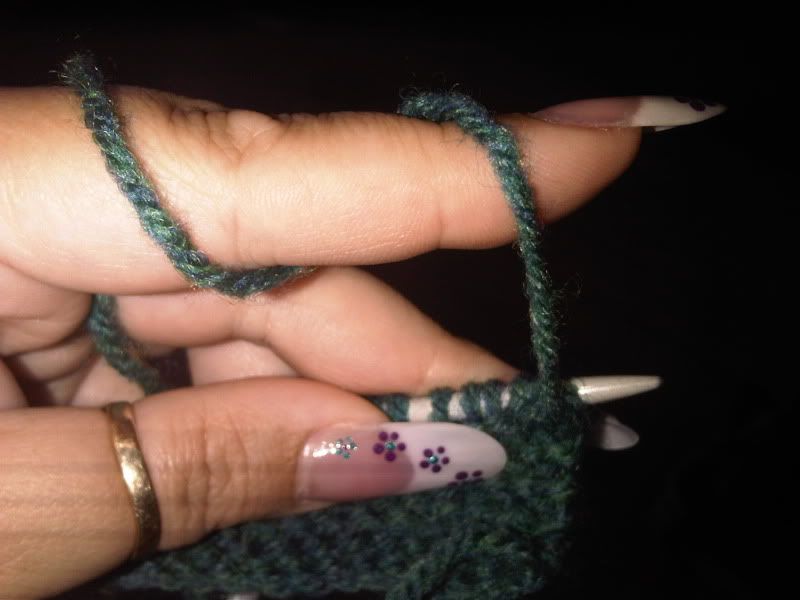
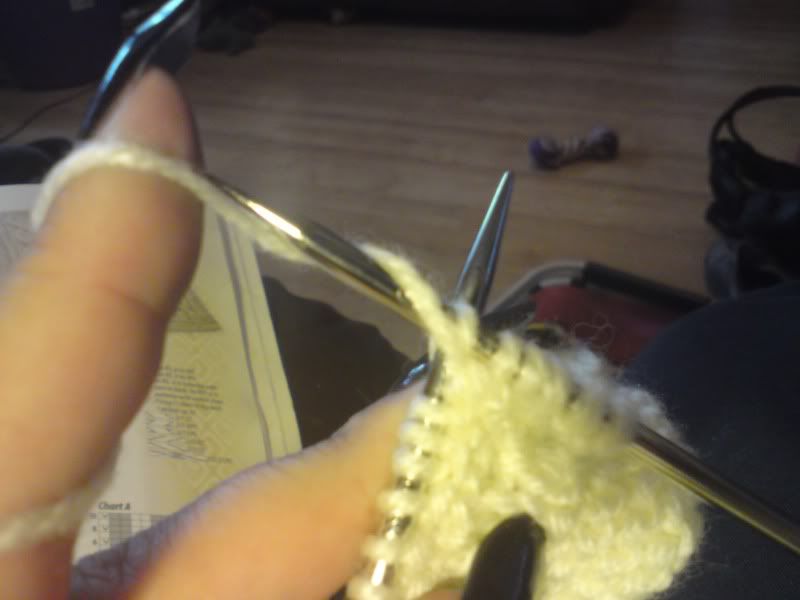
I knit exactly the same way as everyone else except I hold the yarn in my left hand. The yarn is in my hand and then wrapped around my forefinger:

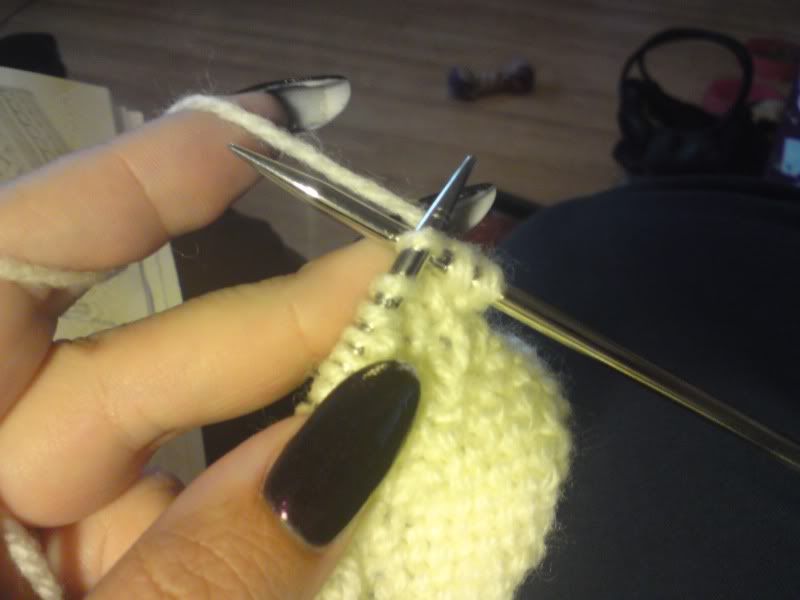
To knit, I insert the needle in through the front loop:

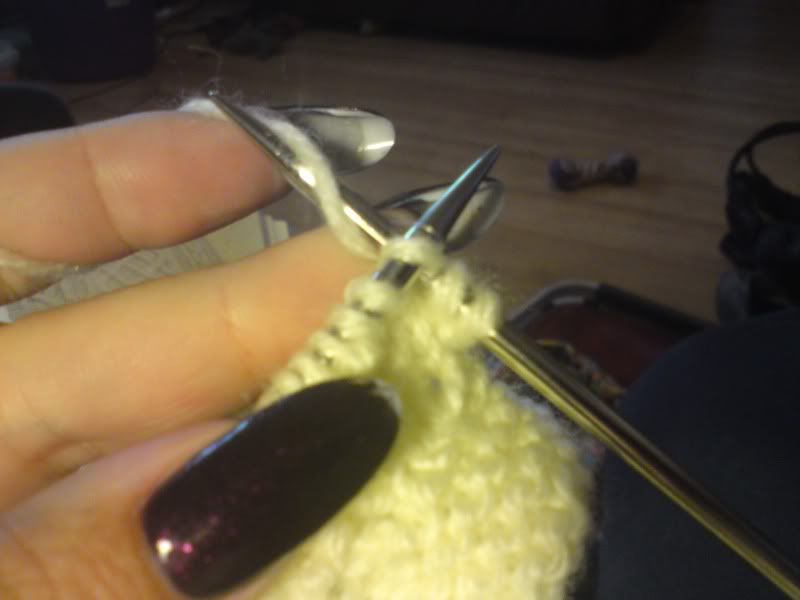
Then I move the right needle and the left forefinger slightly to get:

Now I pull the needle back through to make the new stitch.

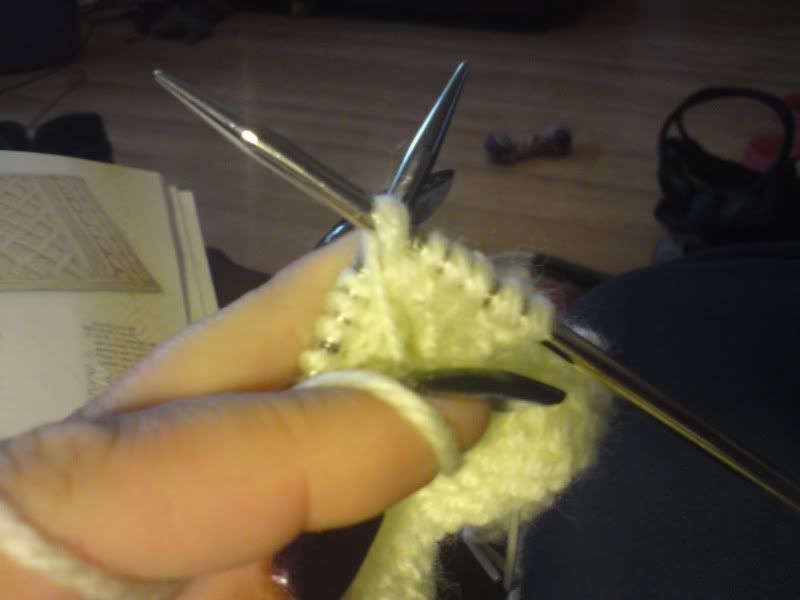
To purl it's done in exactly the same way:

Insert Needle:

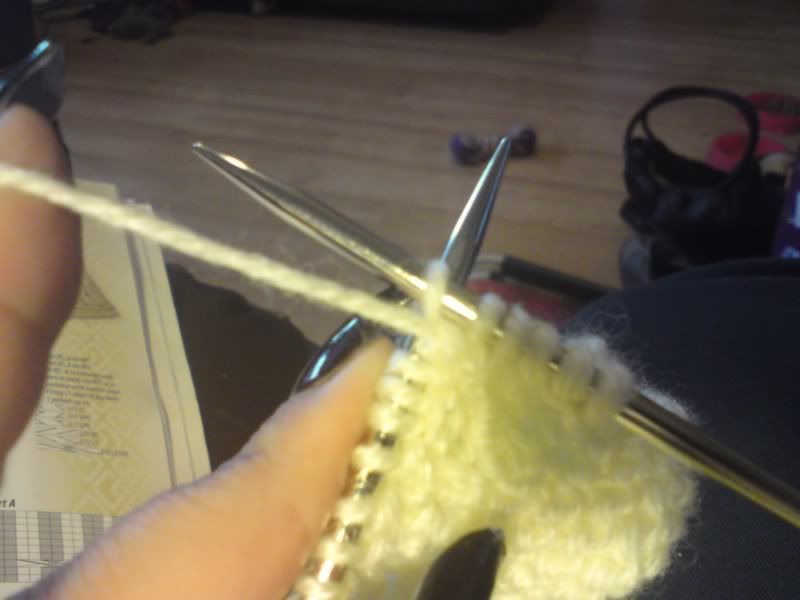
Wrap yarn:

Now move your forefinger down in FRONT of your work:

Move needle through to create new stitch, raise finger slightly and slide stitch off left needle:

You can now knit continental!

Thursday, 8 October 2009

How to knit TAAT (Two At A Time) Socks

Karmastitch on Ravelry just asked me how you knit two at a time socks and as she flattered me by complimenting me on my blog, I told her I'd write a tutorial!

There are obviously a couple of ways to knit a sock: toe up, cuff down, DPNs, Two circs, Magic Loop.

I'm going to try and show you toe up on Magic Loop and Two circs (the pics will be the same, but I'll add explanations), the method works exactly the same way if you work cuff down.

Now, obviously you need your needle of choice and some nice squishy yarn!

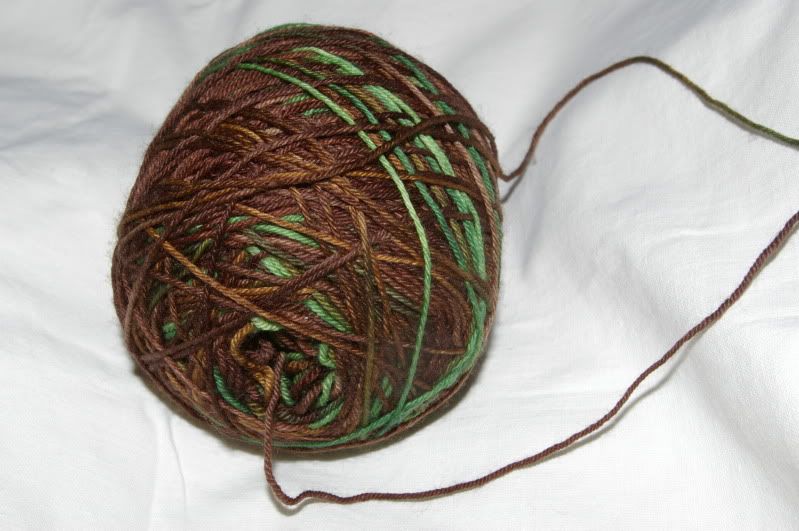
You can work in two ways, you can either split your yarn and work from two individual balls, or you can do what I do. Wind your yarn into a centre pull ball and work from either end - one from the centre and one from the outside!


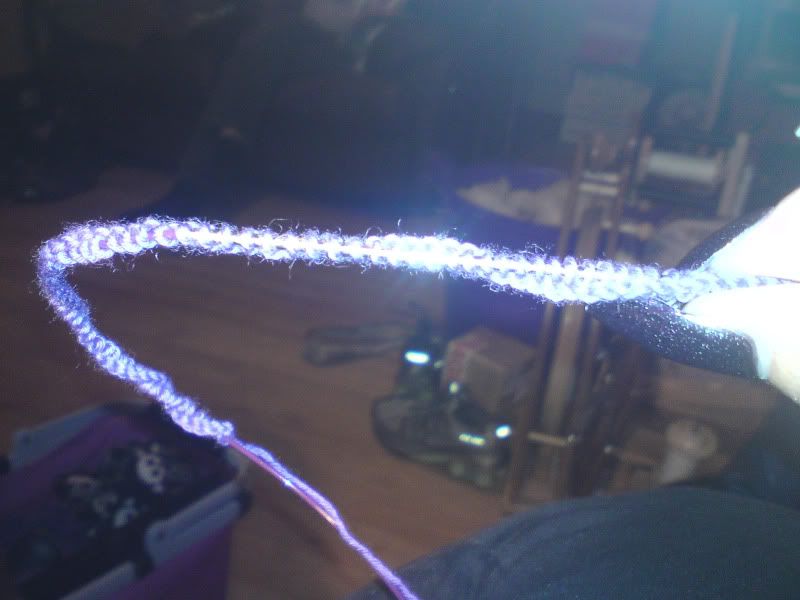
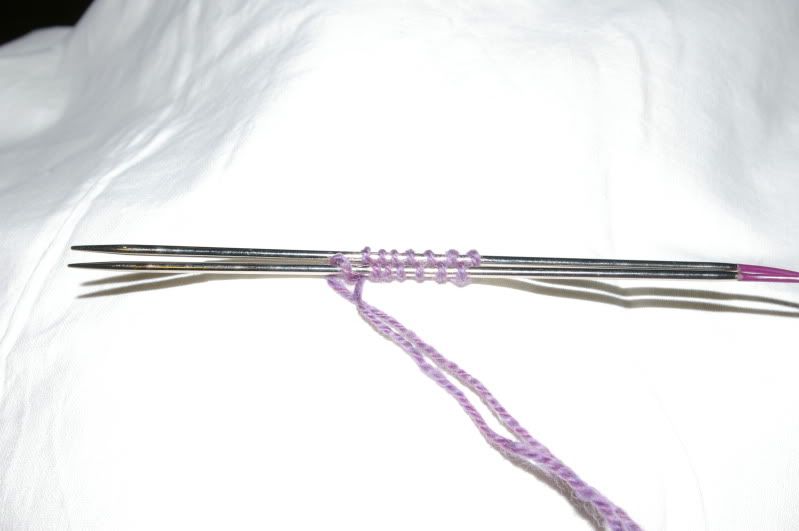
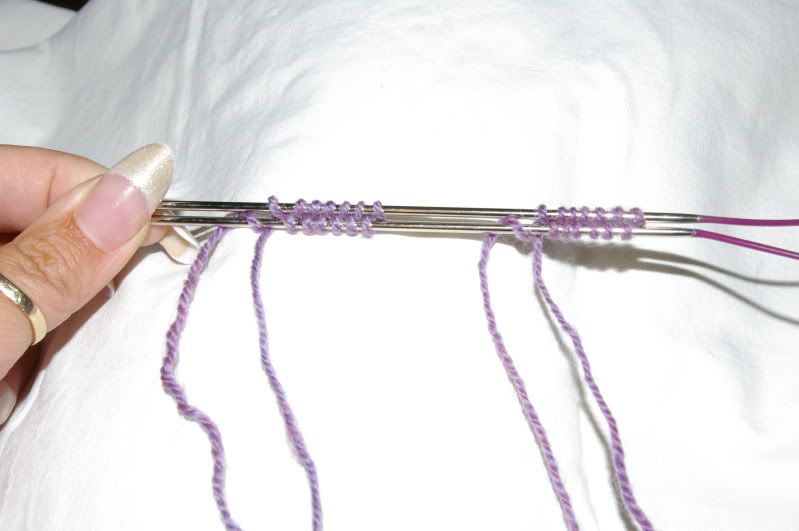
Cast on sock #1 in the usual method:


Now, drop the yarn and pick up the yarn from the other end or from your second ball. Now cast on in exactly the same way:


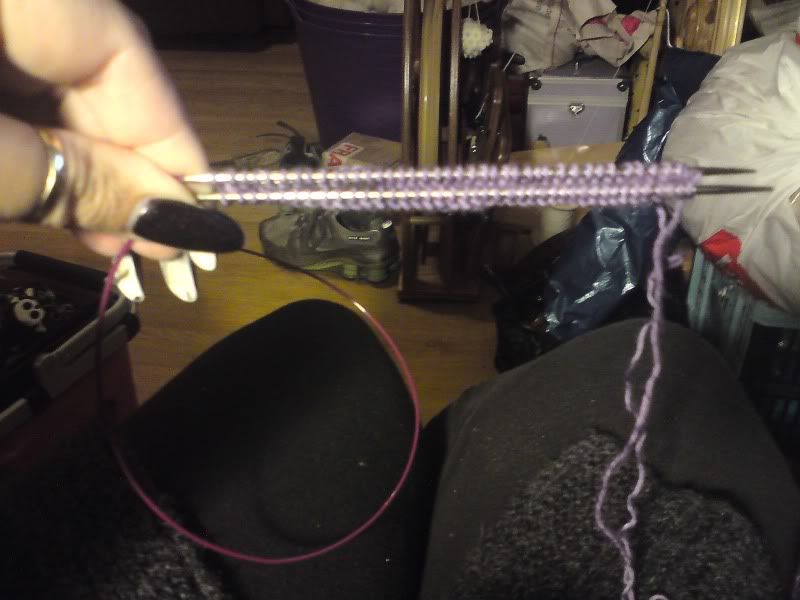
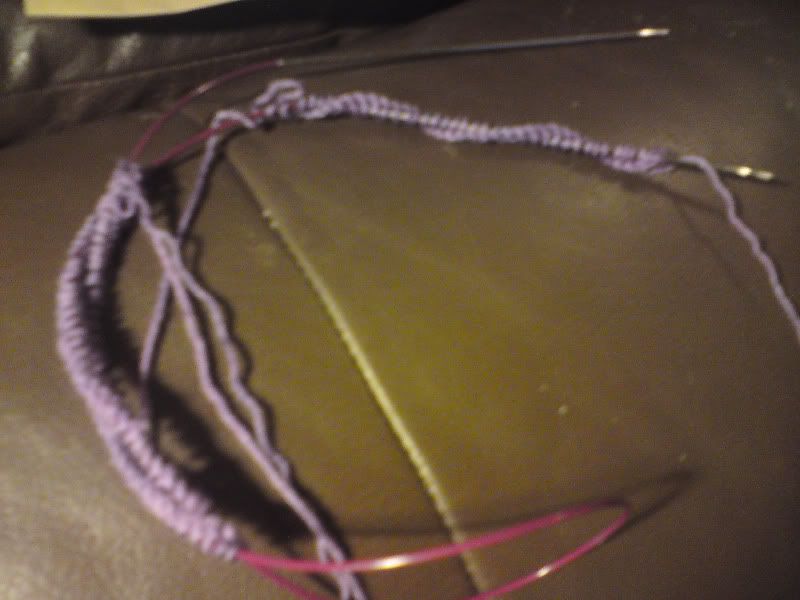
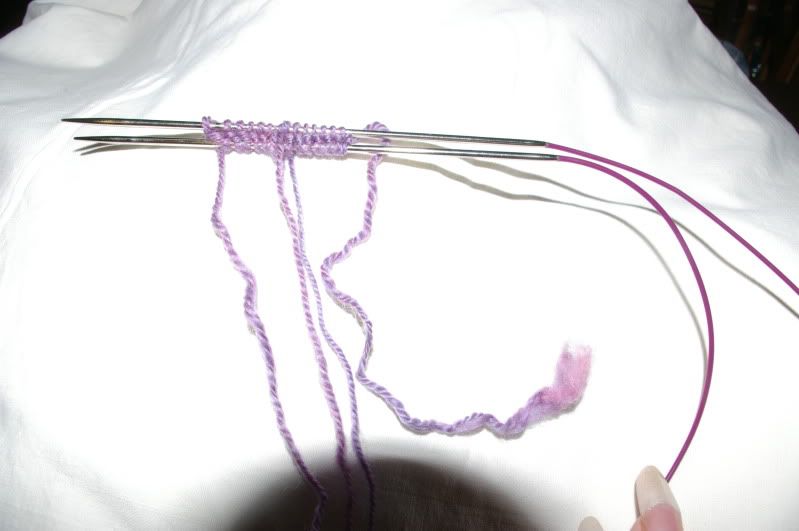
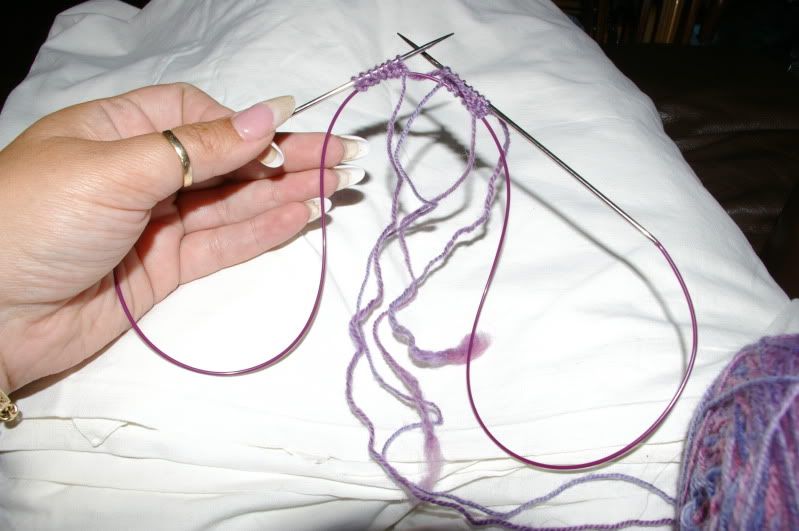
As you can see the long circ (I use an 80cm for TAAT ML) doubles back on itself so that the points are together.


I know it looks a bit daunting, there seems to be cables, points and yarn everywhere. Identify and mentally dismiss the yarn tails which will be darned in later on. All you need to worry about are your needles and your two strands of working yarn - one for each sock.

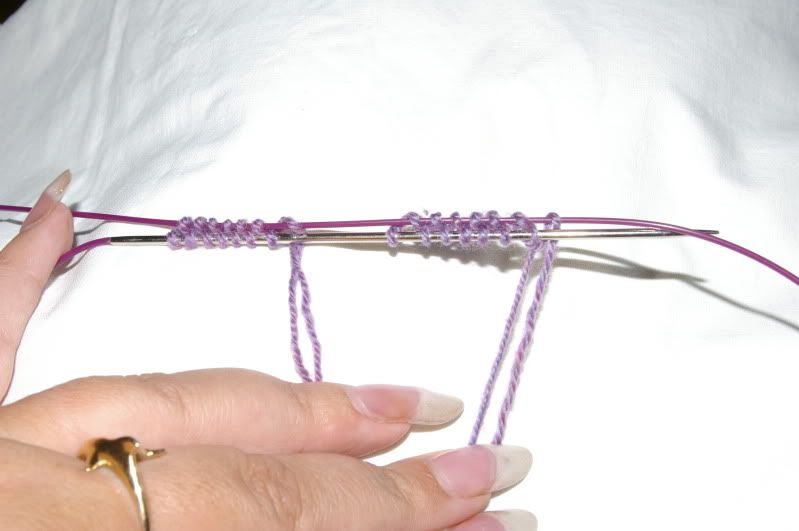
Now, pull the excess cord out of the back stitches


Leave a little loop at the other end sticking out. Now hold the longer bit in your right hand and the needle with the stitches in your left hand. The yarn should be attached to that right hand back stitch.

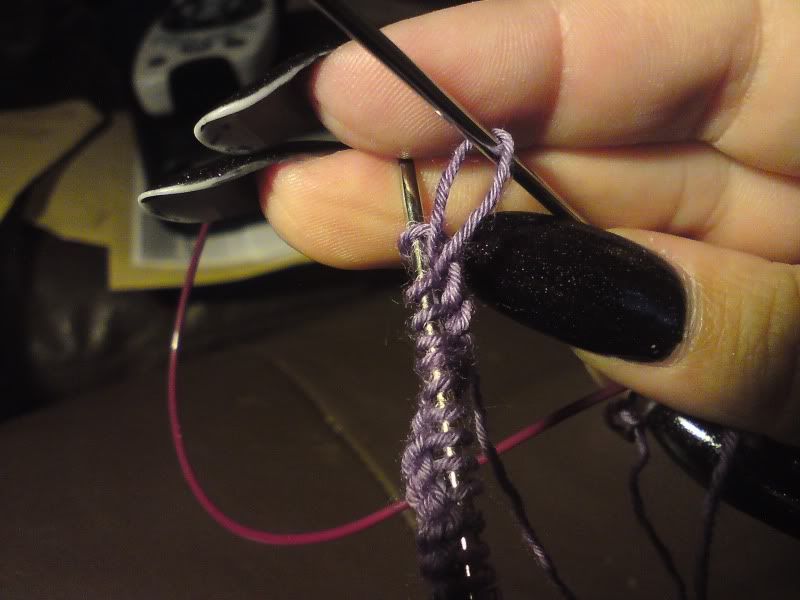
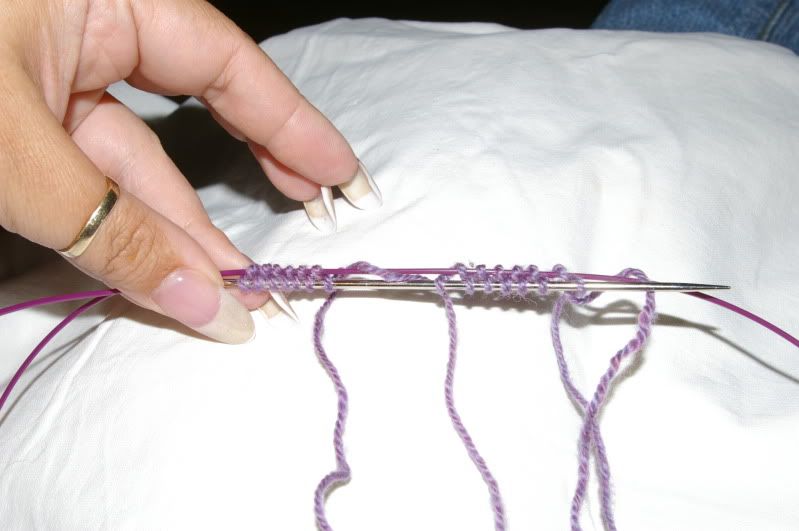
Knit the first stitch on the needle and pull it quite tight (this will prevent laddering). Knit across sock #1. When you reach the gap between your socks


Drop the yarn and move the stitches down the right needle slightly (leave a little loop at the start). Move the stitches of sock #2 up to the end of the left needle.

Again you should be able to see the working yarn for that sock on that back stitch, pick it up and repeat the above instructions.

When you get to the end your needle points should be pointing left and the middle of the cable should be pointing right (which is the complete opposite of what you started out with).

Now flip the whole thing as if you're turning a page in a book so that the points are pointing right and the loop is pointing left and off you go!

Hey - you just knit a round of TAAT toe-up socks using Magic Loop!

So, how do you work on two circs?

In exactly the same way, but instead of two points, there are four!

Divide your sock in half, the front of the sock (this is the top of the foot too) on one needle and the sole of the foot (this is the back of the leg too) on another needle. To knit, push your stitches onto the needle point, now pick up the other end of the same needle and knit across your socks in the same way I've detailed for ML.

When you get to the end, flip your work around and do exactly the same as above but using the other needle (because this is the needle that the other side is sitting on!)

It sounds so difficult if you just read it without trying, I know it does, because I did that loads of times - it looks complicated and fussy. But if you just do it as you read, (hopefully) you'll have that lightbulb moment too!

If you need help, leave a comment and I'll reply the same way!

Monday, 29 June 2009

E-mail link

This is a follow on from my hyperlink how-to.

Have you ever been on a website and seen a hyperlink that says send us an e-mail and you click on e-mail and it takes you to your e-mail program with the address already filled in?

Clever, isn't it.

It's VERY simple to do.

Type your word or phrase, how about: Contact me

Now, highlight it and click the hyperlink button. In the pop up box type "mailto:" immediately followed by your e-mail address and click ok, now you should have a hyperlink to your e-mail address

How-to

I have written several tutorials throughout my blog, I'm going to do this whenever I see one and they will be tagged with How-to so that you can find them if you're so inclined!

Today's how-to is hyperlinks.

Hyperlinks allow you to type in a word and then make that word a link that will take you somewhere else, for example here is a link to Ravelry.

First off, you need the address that you want to link to. There are a few ways to do this, you can either memorise it (if it's a straightforward address like http://www.ravelry.com then that's quite easy, if it's a great long address, it's a bit harder. If it's a longer address, the easiest way is to go to the page, now highlight the address in the white address bar and click ctrl+c to copy. If you see someone else has posted a link, for example here is the hyperlink to Ravelry, now right click on the link and click 'copy link location'.

Now, go back to where you want to put your hyperlink. Now you type your text, and then highlight the bit that you want to be the link - in this case the word Ravelry.

Now you need to look for the hyperlink symbol, on blogger it looks like this:


On Ravelry, it looks like this:


It's usually one of those two little globe symbols (sometimes you can also find it by right clicking on your highlighted word), click that and in the box that appears either paste the address that you copied earlier or just type the address if you know it. Click ok and there you go, you've created a hyperlink!

Saturday, 13 June 2009

How to read a knitting chart

This seems to come up a lot on Ravelry, so I thought I’d give you a tutorial – cos I’m nice like that!

These instructions are for the majority of charts and I’m assuming that you know a little bit of knitting here!

A chart is made up of lots of little squares and looks totally daunting, but it’s not really. Honest.

First thing you want to do is find the key that explains what all those little symbols mean. One square represents one stitch. A plain square usually means that stitch is to be worked in stocking stitch (knit on the right side, purl on the wrong side), it might be shaded if you’re to work it in reverse stocking stitch. A circle usually means to yarn over, a backslash usually means SSK and a forward slash is K2tog. But check the key.

Now a chart is read from the bottom right. Row 1 is the right side of your work and you start at the bottom right stitch and work left. Why? Because that’s how most garments are knit (excluding top down stuff)! When you knit a (standard) sweater pattern, you start at the bottom and work upwards to the collar. A chart is just a pictorial representation of what your finished piece will look like!

So, you work along that row until you get to the end. Now turn your work so that the wrong side is facing you (unless you’re working in the round, but we’ll talk about that in a minute), now work row 2 from left to right.

So the RS of your work is read right to left and the WS is read left to right.

If you are working in the round; work ALL rounds from right to left!

Wednesday, 10 June 2009

Ravelry & Photobucket -– A Tutorial

A lot of people seem to be confused about how to post a photo to Ravelry. Now I can't tell you how to do it using Flickr because I'm not overly keen on Flickr and besides I already had a Photobucket account when I joined Ravelry.

So I'm going to give you a tutorial on how to post pictures to the forums and your projects/stash pages on Ravelry!

First (obviously) you need a Ravelry account and an account with Photobucket.

After you've uploaded your picture to Photobucket (which I'm going to assume you know how to do by following the instructions on their site) you'll want to proudly show off your latest FO or new yarn purchase to everyone else.

This next section is about uploading to your projects/stash pages.

Create the listing as normal, now click the photos tab and scroll down to the bottom. You should see a row of tabs labelled "flickr importer", "photobucket", "slurp from web" and "upload from computer". Obviously you want to click "photobucket".

Now, you need to enter in the user ID and password you use to log in to PHOTOBUCKET, not Ravelry! It might take a while to load or you might need to do this a couple of times - Ravelry is still beta, don't forget!

Once your username and password have loaded in, you should see a drop down box labelled "Album". You need to locate the album on Photobucket that you saved your picture into in the drop down box. Once you've done that a load of thumbnails should appear. You then scroll through until you find the picture. Click on it and your picture will appear above the line.

In the bottom right hand corner of the picture that appeared at the top of the page there will be a square with arrows in, if you click + hold that, you can drag the picture around in the box until you are happy with it.

Ravelry automatically saves any photo changes, so there is no "save" button to click.

Now, this next section is about how to load your picture onto a forum post.

Go to photobucket, it doesn't matter which album (I have several); under the first photo you should see the words "Link options". If you click this a box will appear, there are three tabs across the top, click the far right one labelled "Get link code" and in the selections look for "HTML for websites and blogs" and under that, tick "clickable thumbnail".

At the bottom, put a dot in "always".

Now click save and it'll take you back to your album.

Click in the box under the photo you want that has "HTML Thumb" next to it and then press ctrl+c to copy that link.

Go to Ravelry (this is where multiple tabs come in handy!), write your post and in the place you want your picture to appear, press ctrl+v to paste your link. It'll look like a load of gobbledegook until you've actually posted your comment, but once you have; a nice little thumbnail of your picture should be there!

Be warned: if you delete your photo from photobucket, or you move the photo to another album; it will no longer be visable in your projects/stash pages or on the forum you posted it in!

Tuesday, 5 May 2009

Ways to combat a dry scalp

I suffer from psoriasis. It's not chronic...well, not as bad as it used to be. I've just got a few patches on my legs now.

Unfortunately, I also have it in my hair! My head itches!

So I came up with this method.

Get some Johnson's Baby Oil; the one with Aloe Vera in is best. Add to some warm water. Dunk head. Towel dry. Tie your hair up out the way for at least four hours - overnight if you can manage it. Wash it well and use lots of conditioner. Leave it to dry naturally if you can.

Your hair will feel absolutely gorgeous!

Thursday, 30 April 2009

How to keep your biscuits fresh

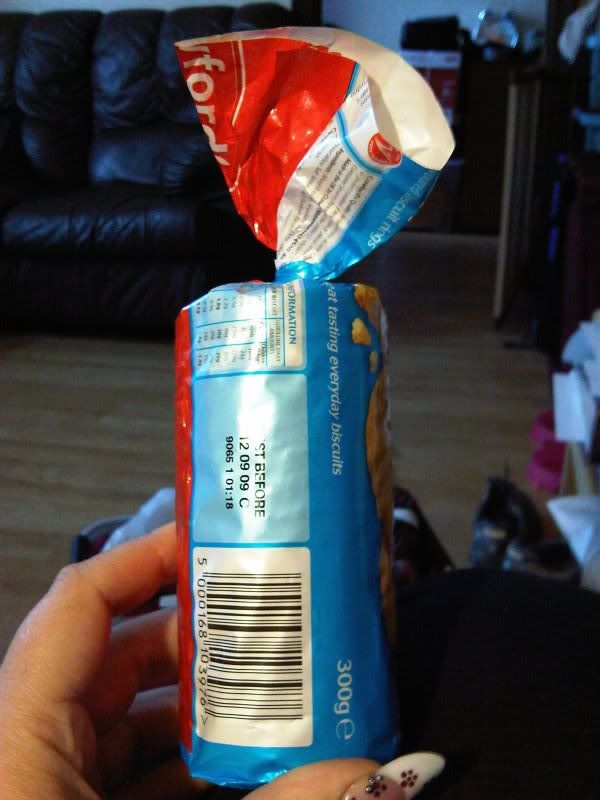
So, here we have a packet of biscuits.

Coconut rings to be precise.

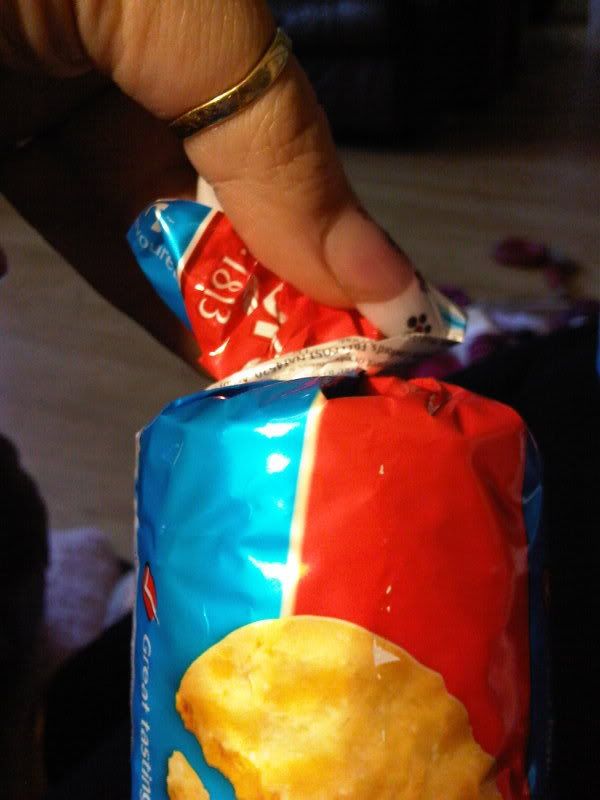
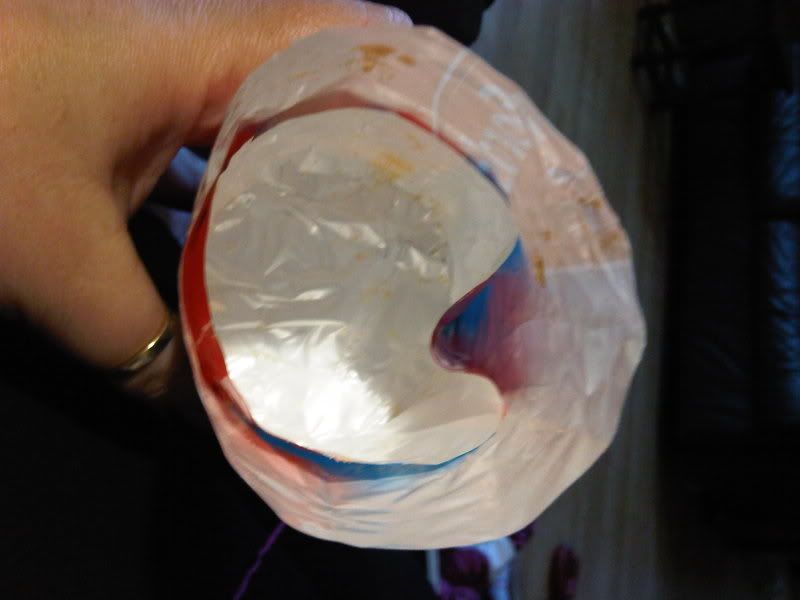
Our dilemma is how to keep them fresh without paying out for a storage box when you haven't taken out enough biscuits to twizzle the top like this.

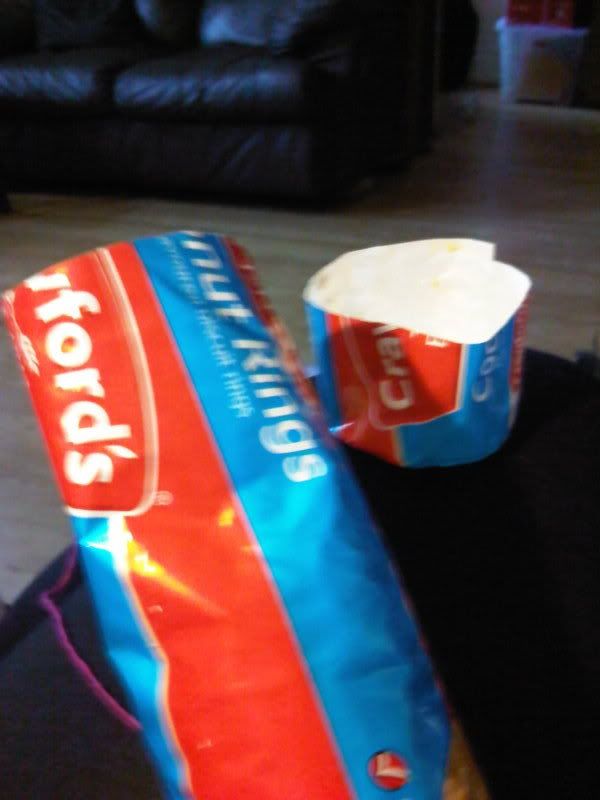
So, use that little red strip thing to open the top and consume some biscuits, you should now have this.

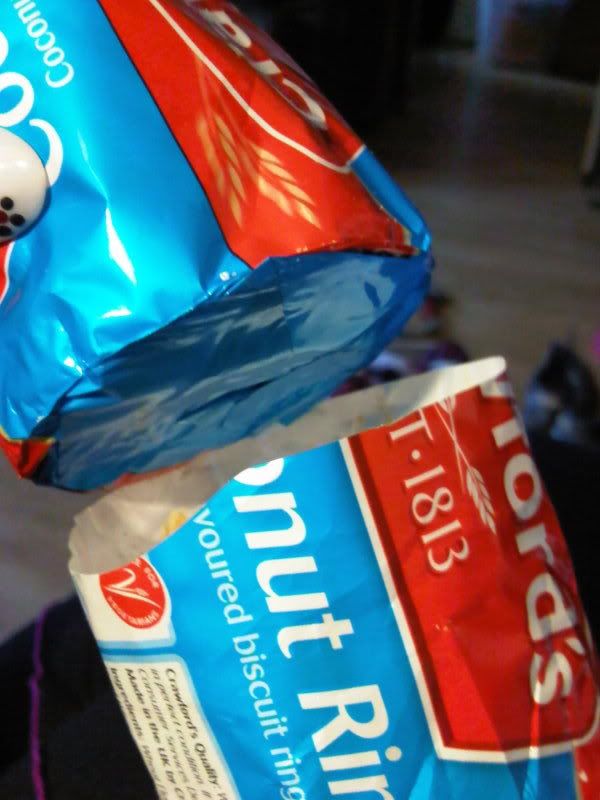
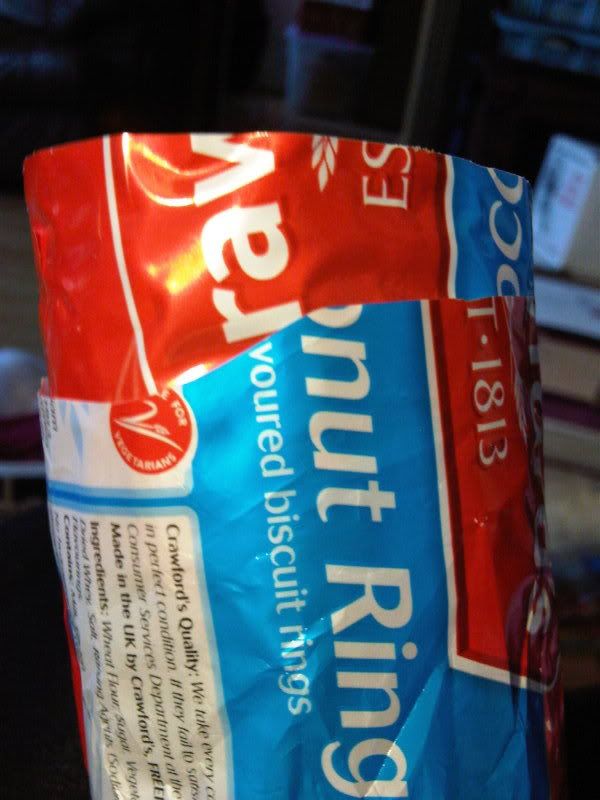
Turn the top bit upside down and reinsert it back into the packet, like this.


It's personal preference whether you just stick it in the top of push it right down to the biscuits, personally I push it right down to the biscuits.


Of course, you could just forget about that bit and eat all the biscuits, no biscuits = no dilemma!